Hi, crafty friend! Even though the holidays will come and go, your crafting supplies don’t have to be packed away with the decorations! The Traditions of Christmas Suite by Stampin’ Up!® will continue to work beautifully well beyond December.
In this week’s post, I’ll show you three easy card ideas that turn this festive suite intoyear-round inspiration—perfect for birthdays, get well, or any occasion where a handmade card makes someone’s day a little brighter.
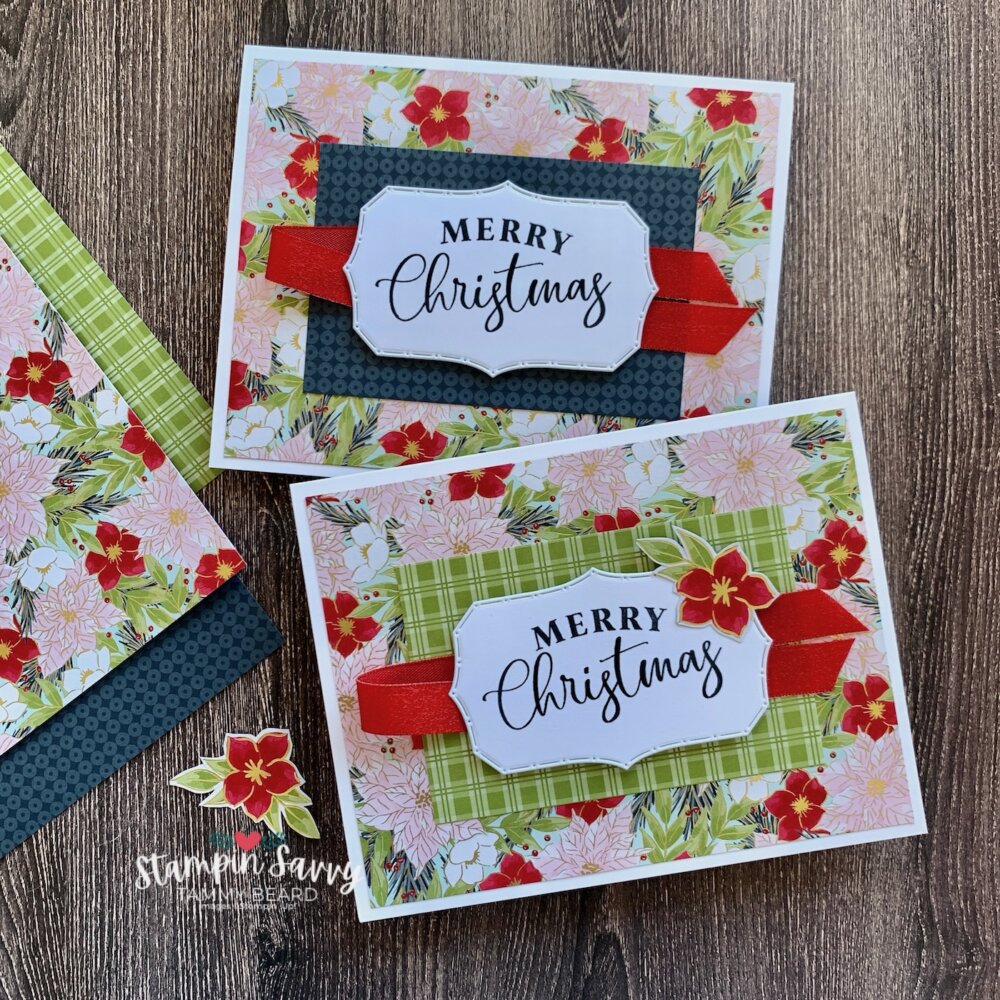
PHOTO 1: Give this beautiful birthday card any time of year!
CARD TUTORIAL
What I love! The Traditions of Christmas Suite isn’t just for the holidays… it’s easy to use and adapt for year ’round use!
PHOTO 2: Card elements before assembly
CUT & PREP (Width x Length)
Basic White Thick Cardstock
Card Base: 4-1/4″ x 11″
On Paper Trimmer, score on short side at 5-1/2″; burnish fold with Bone Folder.
Embossed Panel: 4″ x 5-1/4″
Emboss panel on the diagonal with Forever Plaid 3D Embossing Folder on Stampin’ Cut & Emboss Machine (or similar).
Sentiment Banner: 4″ x 2″
Die-cut with banner from Traditional Labels Dies
Stamp sentiment of choice [Sweet Jar] with a Night of Navy Classic Stampin’ Pad.
See Photo 3 below for a savvy way to align photopolymer stamps to match the shape of a die (in this instance, to match the curves in the banner die).
Place die cut-side up and press photopolymer stamps into place inside the die, following the shape. Remove die and stamp like normal. Perfect alignment, every time… think of the possibilities!
Night of Navy Cardstock 4″ x 2″
Die-cut with banner from Traditional Labels Dies
Summer Splash Cardstock 3-1/2″ x 3-1/2″
Die-cut with largest layering die of this pattern from Spotlight On Nature Dies
Gold Foil Sheets 2″ x 2″
Die-cut (1) ‘bow’ with Christmas Greenery Dies; assemble pieces with glue.
PHOTO 3: Align stamps to match the shape of a die!
TRADITIONS OF CHRISTMASSpecialtyDesigner Series Paper
Floral Bouquet Die-Cut: With coordinating die from Christmas Greenery, cut (2) floral bouquets from designer paper on Stampin’ Cut & Emboss Machine (or similar). Cut off just above the bow*
*Savvy Tip! Die-cut the partial images along the bottom edge of the paper for a ‘no waste’ option… the bow is already cut off!
Alter the color of the flowers with color coordinating Stampin’ Blends Alcohol Markers!
In this example, I used Pool Party and Summer Splash markers to alter the color of all three flowers… it’s quick and easy to do! (see Photo 4 below)
PHOTO 4: It’s easy to alter the designer paper with Stampin’ Blends Alcohol Markers!
ASSEMBLY
Adhere embossed panel to card front, centered.
Adhere circle.
Adhere floral bouquets. (see Photo 5 below)
Layer sentiment banners, slightly offset; adhere to circle with Stampin’ Dimensionals.
Adhere die-cut bow.
PHOTO 5: Layering the pieces is quick & easy!
EMBELLISH
Adhere three coordinating Traditional Sparkling Sequins*… done!
*Designed to color-coordinate with the Traditions of Christmas Designer Paper, they include 3 colors, in 3 sizes! And they’re FLAT for hassle-free mailing!
PHOTO 6: Close-up view of Card #1… gorgeous!
BONUS IDEAS
PHOTO 7: Another sweet & simple birthday card idea!
Birthday Card Details (Photo 7 above)
Flower Bouquet: Traditions of Christmas Designer Paper, die-cut with Christmas Greenery Dies… no alteration!
Circle:Gold Foil Sheets with Spotlight On Nature Dies (2nd to largest)
3D Embossing Folder: Dotted Circles – panel is 4″ x 5-1/4″ (de-bossed side shown)
With just a few creative twists, your favorite Christmas products can keep inspiring beautiful cards all year long. I hope these three designs spark new ideas and give you the confidence to stretch your supplies beyond the season.
✨ Grab the Traditions of Christmas Suite, craft along with me, and let’s keep the joy of handmade cards going well past the holidays!
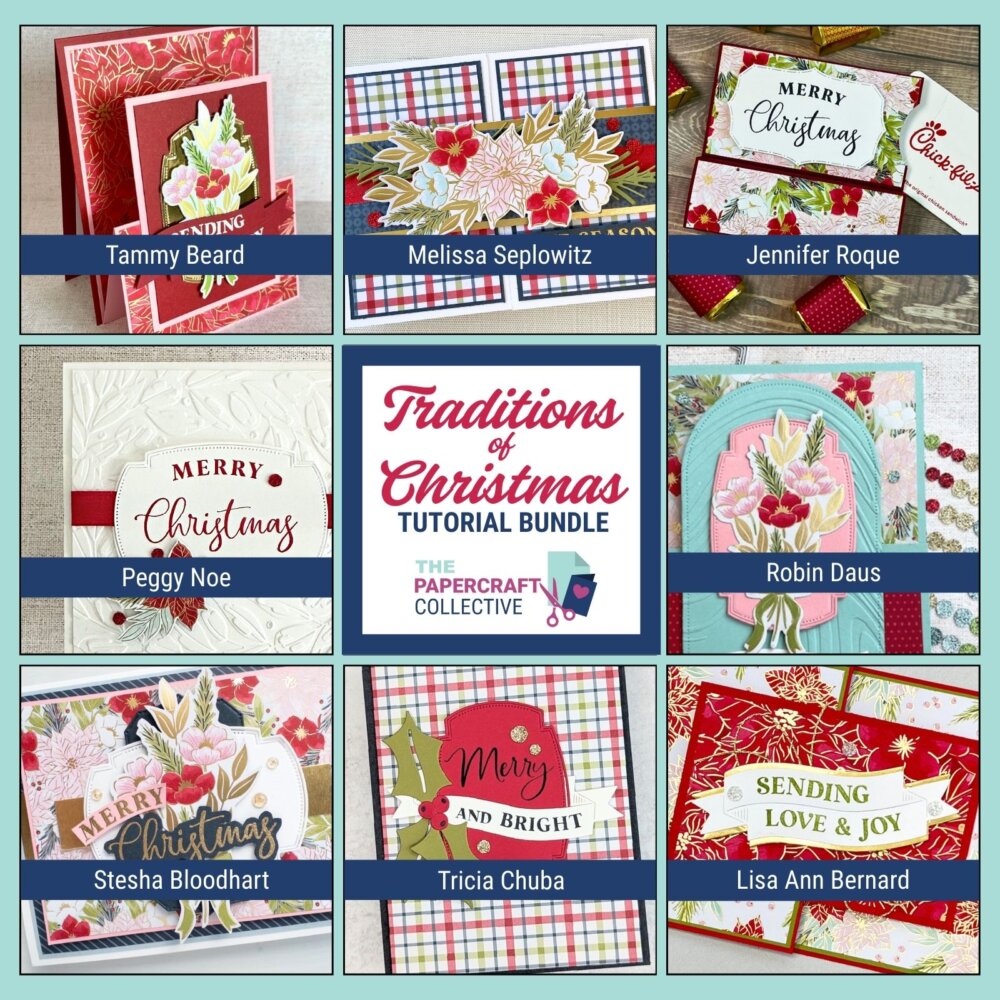
OCTOBER SAVVY SHOWCASE: Traditions of Christmas Suite
Looking for more project ideas? Find plenty of inspiration for the Traditions of Christmas Suite linked below …happy crafting!
Hover over any photo in today’s post and click the red Pinterest SAVE logo in the upper left corner to save this tutorial to your favorite Pinterest board for later!
BEFORE YOU GO
Get new project tutorials delivered free to your in-box! Subscribe Here (US only)
Enjoy this post? Leave a comment below… I love to hear from you!
Thanks for supporting our small family business!
About Tammy Beard
Stampin' Up!® Independent Demonstrator who loves crafting handmade happiness with paper, stamps and ink!❤ SHOP Stampin' Up!® in the USA @ StampinSavvy.com/Shop
![Traditions Of Christmas Suite Collection (English) [ 165877 ]](https://i0.wp.com/assets1.tamsnetwork.com/images/EC042017NF/165877s.jpg?w=120&ssl=1 "Traditions Of Christmas Suite Collection (English) [ 165877 ]")


![Traditions Of Christmas 12" X 12" (30.5 X 30.5 Cm) Specialty Designer Series Paper [ 165853 ]](https://i0.wp.com/assets1.tamsnetwork.com/images/EC042017NF/165853s.jpg?w=120&ssl=1 "Traditions Of Christmas 12\" X 12\" (30.5 X 30.5 Cm) Specialty Designer Series Paper [ 165853 ]")
![Christmas Greenery Bundle [ 165873 ]](https://i0.wp.com/assets1.tamsnetwork.com/images/EC042017NF/165873s.jpg?w=120&ssl=1 "Christmas Greenery Bundle [ 165873 ]")
![Traditional Labels Bundle (English) [ 165865 ]](https://i0.wp.com/assets1.tamsnetwork.com/images/EC042017NF/165865s.jpg?w=120&ssl=1 "Traditional Labels Bundle (English) [ 165865 ]")
![Traditional Sparkling Sequins [ 165875 ]](https://i0.wp.com/assets1.tamsnetwork.com/images/EC042017NF/165875s.jpg?w=120&ssl=1 "Traditional Sparkling Sequins [ 165875 ]")
![Sweet Jar Photopolymer Stamp Set (English) [ 165501 ]](https://i0.wp.com/assets1.tamsnetwork.com/images/EC042017NF/165501s.jpg?w=120&ssl=1 "Sweet Jar Photopolymer Stamp Set (English) [ 165501 ]")
![Spotlight On Nature Dies [ 163580 ]](https://i0.wp.com/assets1.tamsnetwork.com/images/EC042017NF/163580s.jpg?w=120&ssl=1 "Spotlight On Nature Dies [ 163580 ]")
![Forever Plaid 3 D Embossing Folder [ 164049 ]](https://i0.wp.com/assets1.tamsnetwork.com/images/EC042017NF/164049s.jpg?w=120&ssl=1 "Forever Plaid 3 D Embossing Folder [ 164049 ]")
![Gold Foil Sheets [ 132622 ]](https://i0.wp.com/assets1.tamsnetwork.com/images/EC042017NF/132622s.jpg?w=120&ssl=1 "Gold Foil Sheets [ 132622 ]")
![Summer Splash 8 1/2" X 11 Cardstock [ 163797 ]](https://i0.wp.com/assets1.tamsnetwork.com/images/EC042017NF/163797s.jpg?w=120&ssl=1 "Summer Splash 8 1/2\" X 11 Cardstock [ 163797 ]")
![Night Of Navy 8-1/2" X 11" Cardstock [ 100867 ]](https://i0.wp.com/assets1.tamsnetwork.com/images/EC042017NF/100867s.jpg?w=120&ssl=1 "Night Of Navy 8-1/2\" X 11\" Cardstock [ 100867 ]")
![Basic White 8 1/2" X 11" Thick Cardstock [ 159229 ]](https://i0.wp.com/assets1.tamsnetwork.com/images/EC042017NF/159229s.jpg?w=120&ssl=1 "Basic White 8 1/2\" X 11\" Thick Cardstock [ 159229 ]")
![Basic White Medium Envelopes [ 159236 ]](https://i0.wp.com/assets1.tamsnetwork.com/images/EC042017NF/159236s.jpg?w=120&ssl=1 "Basic White Medium Envelopes [ 159236 ]")
![Night Of Navy Classic Stampin' Pad [ 147110 ]](https://i0.wp.com/assets1.tamsnetwork.com/images/EC042017NF/147110s.jpg?w=120&ssl=1 "Night Of Navy Classic Stampin' Pad [ 147110 ]")
![Summer Splash Stampin’ Blends Combo Pack [ 163826 ]](https://i0.wp.com/assets1.tamsnetwork.com/images/EC042017NF/163826s.jpg?w=120&ssl=1 "Summer Splash Stampin’ Blends Combo Pack [ 163826 ]")
![Pool Party Stampin' Blends Combo Pack [ 154894 ]](https://i0.wp.com/assets1.tamsnetwork.com/images/EC042017NF/154894s.jpg?w=120&ssl=1 "Pool Party Stampin' Blends Combo Pack [ 154894 ]")
![Paper Trimmer [ 152392 ]](https://i0.wp.com/assets1.tamsnetwork.com/images/EC042017NF/152392s.jpg?w=120&ssl=1 "Paper Trimmer [ 152392 ]")
![Stampin' Cut & Emboss Machine [ 149653 ]](https://i0.wp.com/assets1.tamsnetwork.com/images/EC042017NF/149653s.jpg?w=120&ssl=1 "Stampin' Cut & Emboss Machine [ 149653 ]")
![Multipurpose Liquid Glue [ 110755 ]](https://i0.wp.com/assets1.tamsnetwork.com/images/EC042017NF/110755s.jpg?w=120&ssl=1 "Multipurpose Liquid Glue [ 110755 ]")
![Stampin' Dimensionals [ 104430 ]](https://i0.wp.com/assets1.tamsnetwork.com/images/EC042017NF/104430s.jpg?w=120&ssl=1 "Stampin' Dimensionals [ 104430 ]")